Excel
Many estimating programs store or export data in Excel spreadsheets, or you may have your own Excel estimating Worksheet setup. The import solution is mapping the Saberis Excel Template to the Excel Spreadsheet. Once you understand the process this is a 30 second task.
This section will show the step-by-step process to get the data from an Excel Spreadsheet to an XML document in a folder where you can upload it to SaberisConnect.
One-time Setup
Download and save the Saberis Excel Template XML document to a convenient folder. This document will be loaded into every spreadsheet. It will allow for the mapping of your columns to the required XML export for SaberisConnect.
To show the Developer Tab in your Excel:
- Select the File tab.
- Click on Options.
- Click on Customize Ribbon.
-
Under Main Tabs, click on the Developer check box.
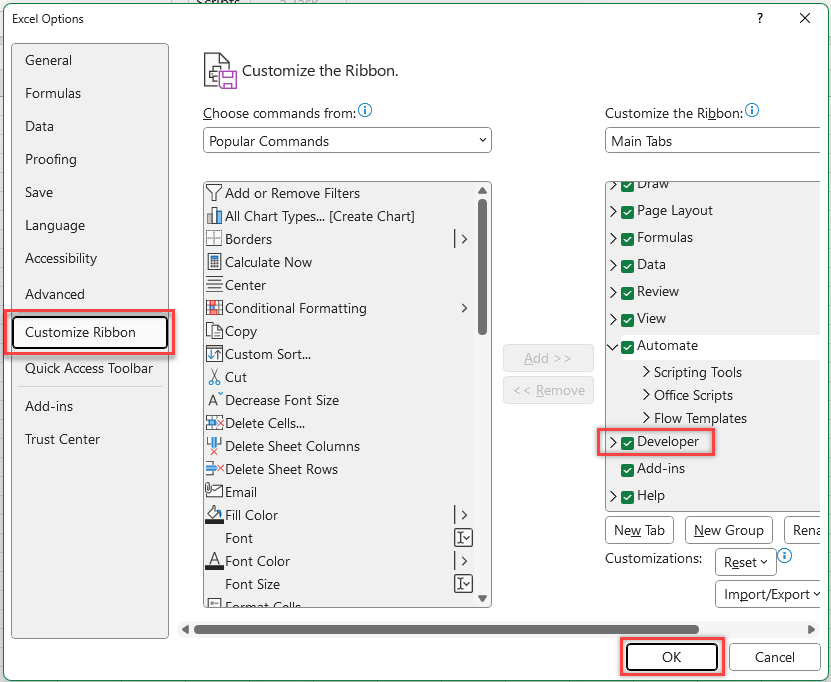
- Select OK to save the new setting.
Import Process
You need to complete the following steps for each spreadsheet that you want uploaded.
-
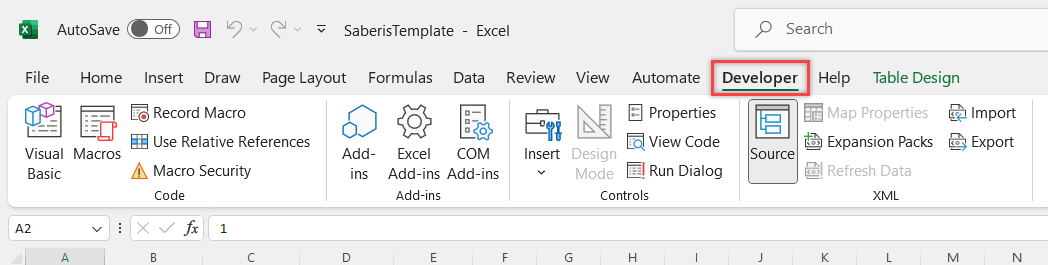
Select the Developer Tab.
-
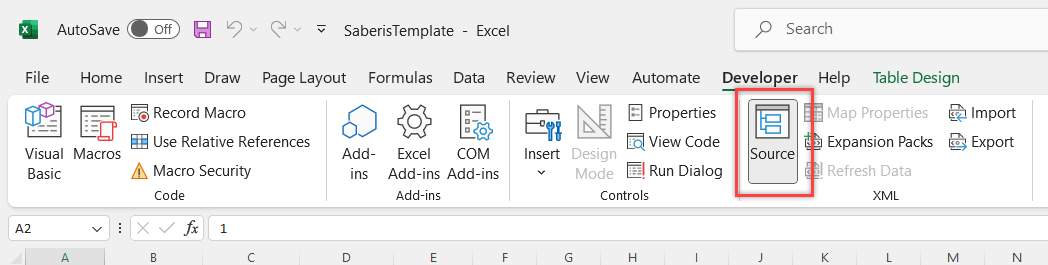
Click on the Source icon.
-
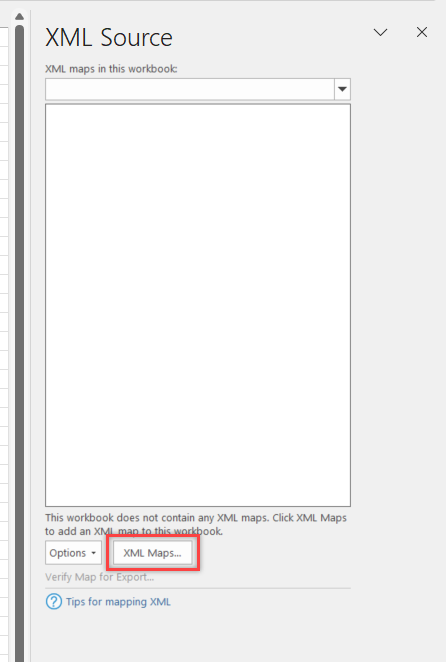
On the right hand side, the XML Source window will appear. Click on the XML Maps button.
-
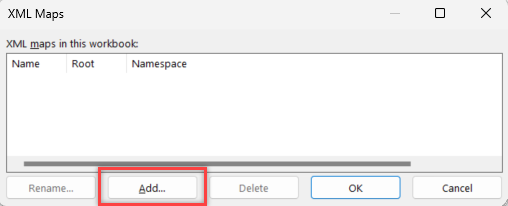
Click on "Add" in the XML Maps window.
-
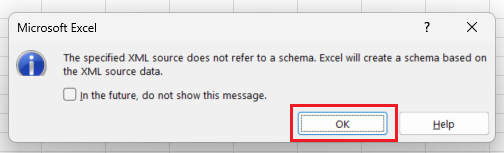
Find the SaberisExcelTemplate.xml document that you downloaded and select it. You will receive this informational message. Click OK.
-
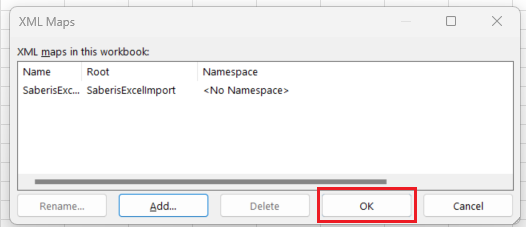
Click on OK again to confirm the selection.
-
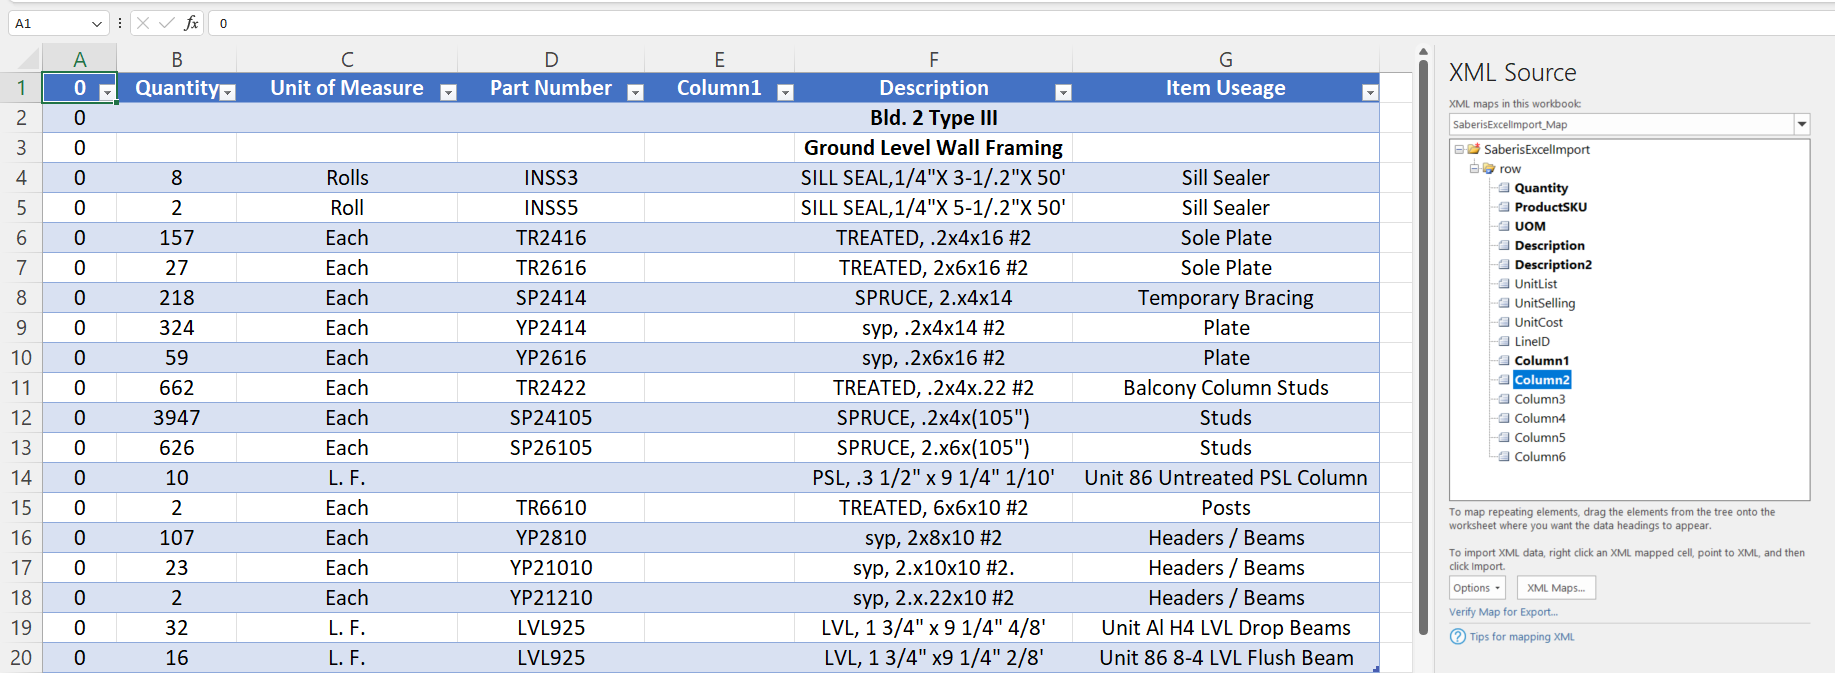
The XML Source Window will now show the elements for XML mappings.

-
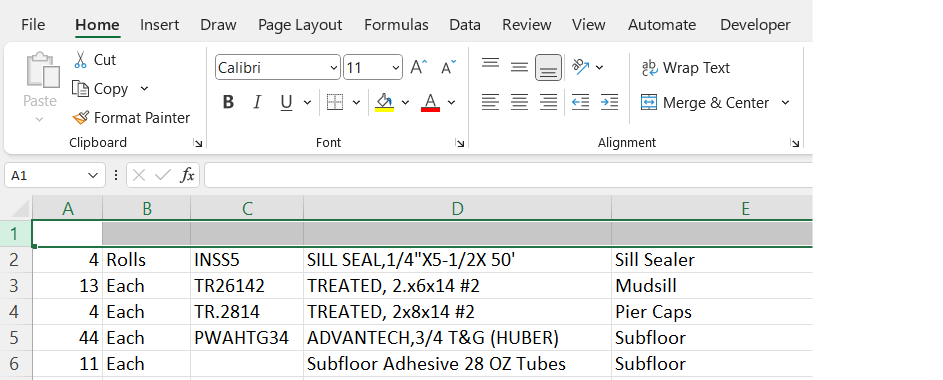
Make sure you have a non-data row above the columns you want to export. This is where you will place the mapping elements or "tags" that will build an XML document for import.
-
You are now ready to do the mapping from the Saberis Excel Template. Follow these rules:
- Start at the first required column. In this example column A. Continue applying the mappings from left to right.
- Before exporting, each column must be mapped. If you have a blank column or one filled with unnecessary information that you don't want carried over to the ERP system, either delete the column or use the Column 1 through Column 5 mappings. Start by dragging the Column 1 element to the first column of unnecessary information. Then repeat this process with the Column 2 element and so on until each blank column or one containing information for removal is mapped.
In this example, drag the Quantity map from the XML Source window to the A1 column.
You can also click on the A1 cell and then double click on the Quantity element in the XML Source window. This second method will automatically apply the mapping to the entire column containing data as long as there are no blank cells.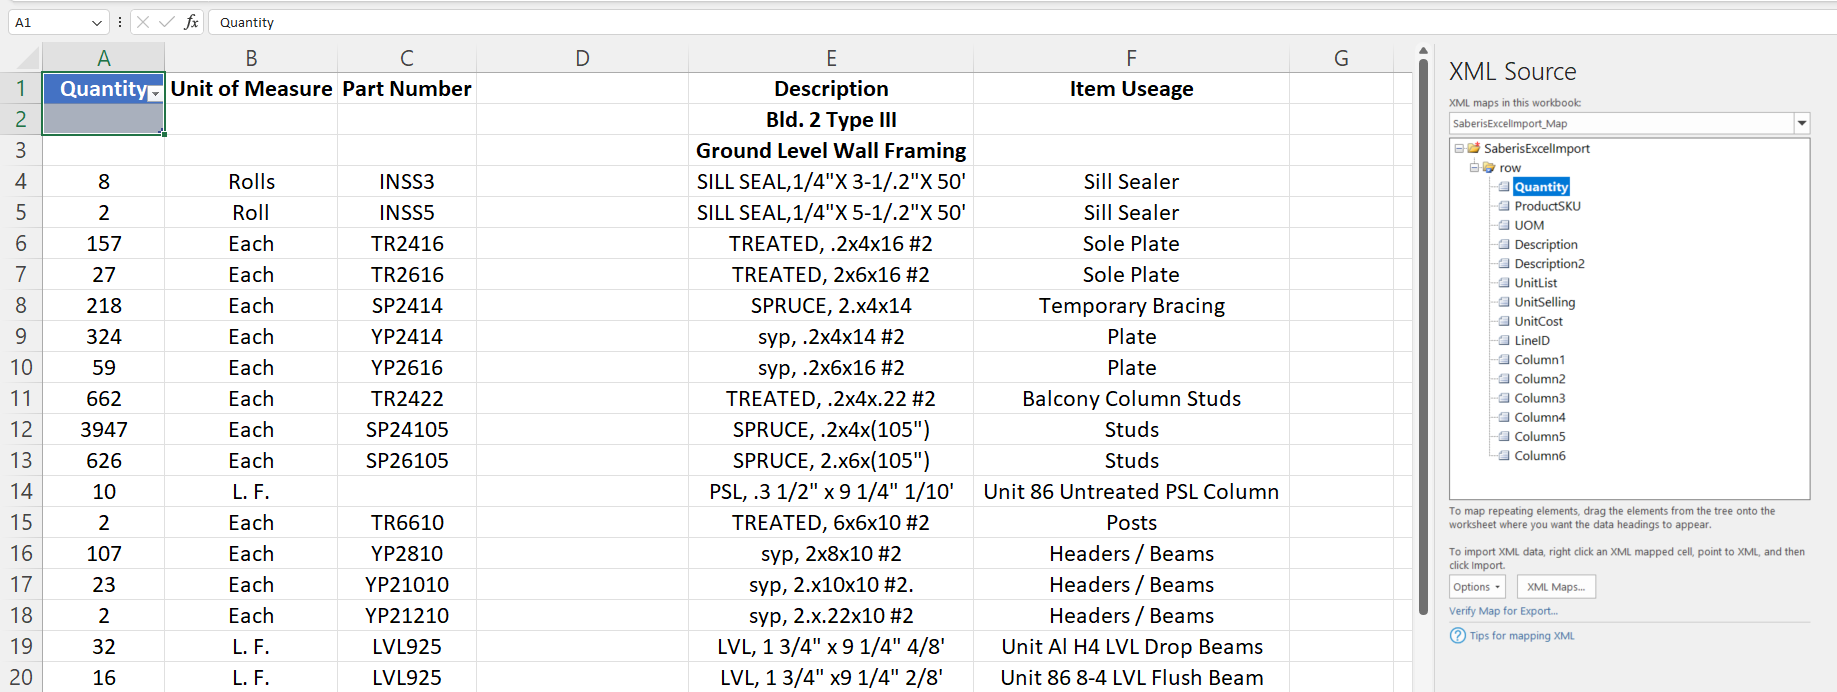
-
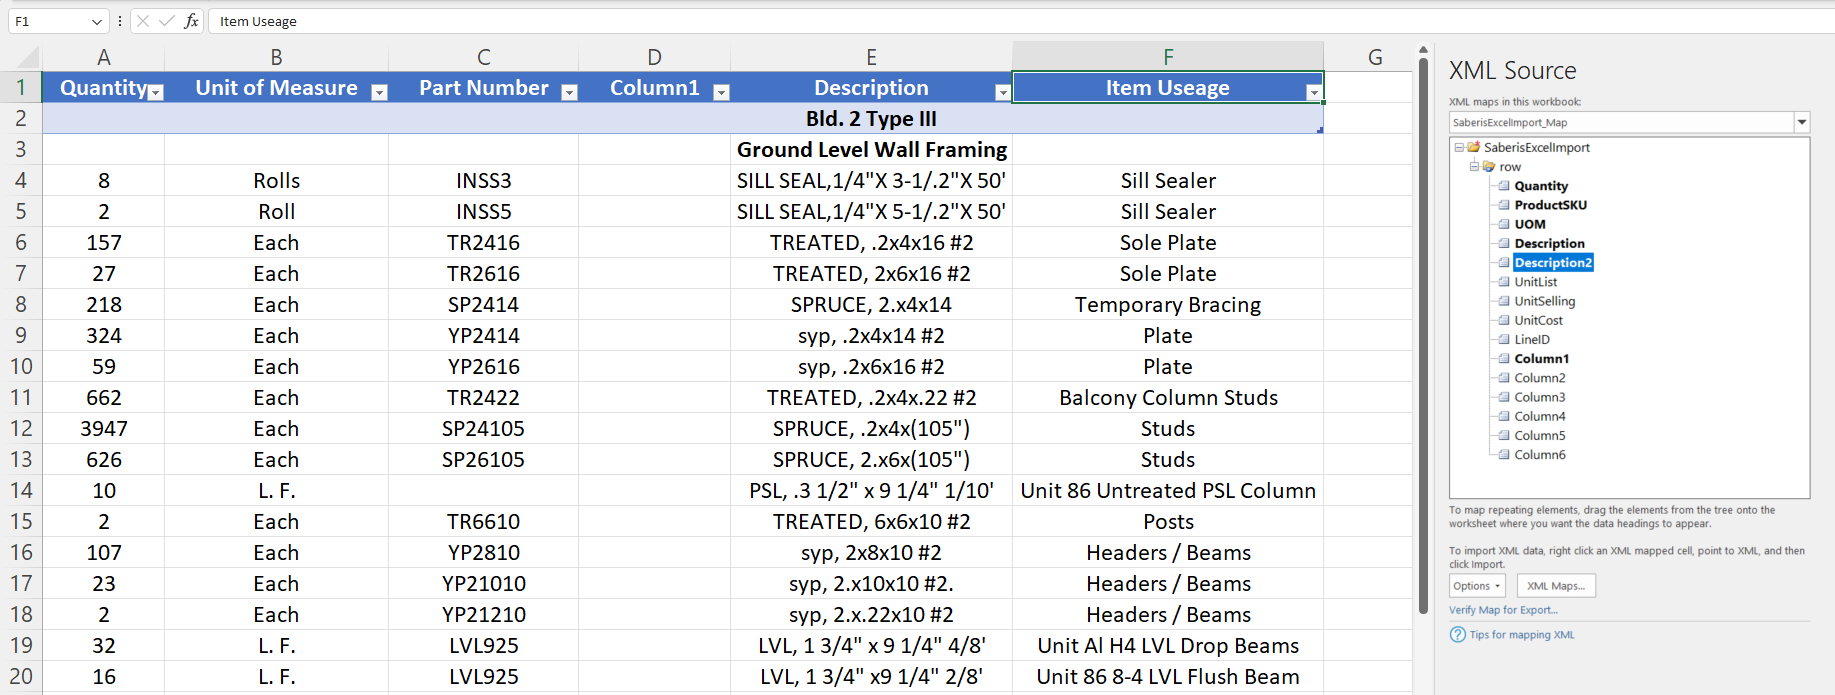
Now drag or double click the other map names. UOM followed by ProductSKU. Column D is blank, and you don't want it in the data, but it must be mapped. So, use the Column1 map name. Now add the two descriptions.
-
The file is almost ready for exporting. If you export now, only the first line which happens to be a "comment" line will be exported. You must make sure all rows and columns that are to be included in the data are highlighted.
Here are three ways to highlight the cells:
-
Click on the corner of the right bottom of the highlighted row(s), and drag the highlighted window down to the bottom of the data rows. This is quick and easy unless you have hundreds of rows.

-
For a large number of rows, the template is designed to automatically highlight them all. However, for this to work, the first mapped column cannot have a blank cell. Excel will stop highlighting at the first empty cell. That is why the above example only highlighted the first row and stopped.
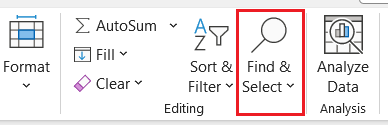
For Excel to continue highlighting data, you can do a find and replace for column A. Highlight column A by selecting it. Now click on the Home Tab, and at the far right should be the Find & Select command.
This must be done before you map the columns.
Select the Replace command and enter a zero "0" in the "Replace with" box. Leave the "Find What" box empty.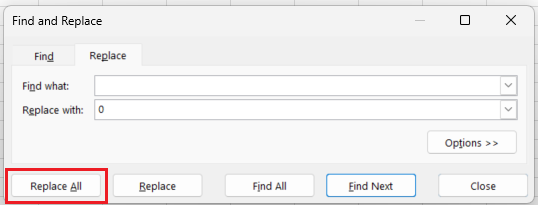
Now click on Replace All.
This method works if the first column has "Quantity" data, since a quantity of zero is equivalent to a blank cell. If the first column has Product SKU data, then you can't replace blank cells with 0. -
Another way is inserting a new column in front of the first column, and using the find and replace function with a zero replacing blank spaces. Don't forget to map the new column with a Column 1-5 element. Notice that all the rows automatically are selected.
-
Click on the corner of the right bottom of the highlighted row(s), and drag the highlighted window down to the bottom of the data rows. This is quick and easy unless you have hundreds of rows.
-
The final step in Excel is to export the data under the Developer Tab. Save it to your folder to upload it to SaberisConnect.
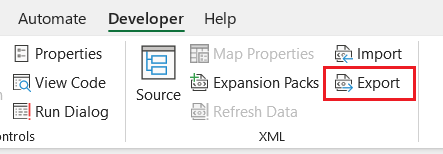
You have now saved a lot of time by not having to manually enter the data.
Tips
SaberisConnect only uses the XML document that is produced by Excel with the export function from developer tab. We do not need the Excel document. If you save a copy of an Excel document with the XML mappings loaded, but with no data, it can be used as a template and starting point for each quote or order that you want to generate.
When you export the Excel file with data and the mapped columns, you will be prompted to save the export XML. Then if you wish to have a copy of the original order information but don't need both the Excel and XML file, you can discard your changes when you close the Excel file. This allows you to keep a copy of the XML file for processing in SaberisConnect and also reuse the Excel "template" file with the xml source elements loaded. For each new order or quote, you can copy and paste your data into the "template" file.
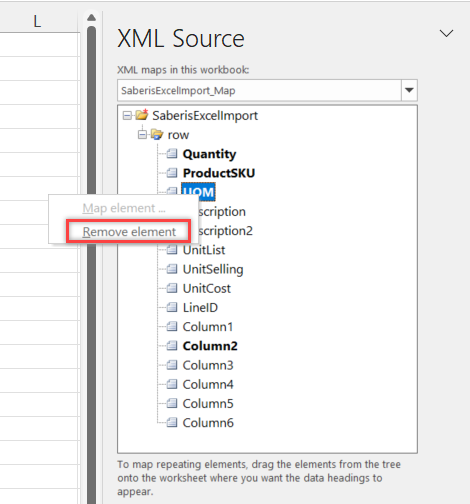
Changing an XML Mapping
-
To remove an XML mapping, go to the XML Source workbook. Then right click on the corresponding element and click "Remove element".
- Before you can change the XML mapping, you have to delete all the mappings from the rightmost column to the column that requires changes.
- To add an XML mapping, drag an element from the XML Source onto the corresponding column in row 1. Repeat this until each column is mapped.
Stock vs Special Order Items
At a minimum, stock items require the quantity, SKU and UOM values to be populated. While stock item descriptions may be ignored by the ERP system, including them can be useful for cross referencing. Pricing is typically controlled by the ERP system based on the Stock SKU.
Special order items require at a minimum the quantity, description, cost, and selling price. ERP systems typically assume that there will be custom pricing for special order items.